Start with one light and a large modifier, then practise changing its position before adding more lamps. Soft side light, frontal beauty light and a stronger side-lit portrait give you three useful starting points. The positions below are exercises, not fixed settings that work for every face and room.
Prepare a simple test
Use a stable light stand, a suitable softbox, a plain background and, if available, a white reflector. Secure stands and keep cables out of the walking route. For overhead equipment, use appropriate support and ballast; do not improvise an unsecured light above a person.
Ask your subject to stay in roughly the same place for a short sequence. Make one adjustment at a time and photograph the result. A phone picture of the arrangement helps you remember what changed.
Light softness depends on the source's apparent size from the subject's position. A large modifier nearby generally creates softer shadow transitions than the same modifier farther away. This principle applies to flash and continuous light.
1. Soft side light for an everyday portrait
Position: place the softbox to one side of the camera, approximately 45 degrees around the subject, and slightly above eye level. Angle it toward the face. Treat that angle as a starting point and watch the nose shadow as the subject turns.
Look for: a gently lit cheek, visible catchlights and a gradual transition into shadow. If the far side of the face is too dark for your intention, bring a white reflector closer on that side.
Adjust: move the lamp toward the camera for a more even result. Move it farther to the side for stronger modelling. Keep the light out of the frame and recheck exposure after a distance change.
2. Frontal beauty light with gentle fill
Position: centre the key light above the camera's line of sight, angled down toward the face. Keep it high enough to shape the cheeks, but not so high that the eyes fall into shadow. A white reflector below the face can provide fill without a second powered light.
Look for: a small shadow under the nose and an even balance across the face. The exact pattern changes with head position, facial structure and modifier size.
Adjust: if the lower fill makes the portrait feel flat, move the reflector away. If you see distracting reflections in glasses, change the light or head angle and check the result through the camera.
3. Side light for a more dramatic portrait
Position: move the light farther around the subject, closer to a side-on position. Ask the subject to make small turns toward and away from it. Watch the shadow shape rather than chasing a named pattern at an exact angle.
Look for: a clear division between lit and darker areas without losing the expression. A small lit triangle on the far cheek can emerge in a Rembrandt-style arrangement, but it is not compulsory for a successful image.
Adjust: white walls may bounce enough light to reduce the contrast. Increase distance from those walls, or use a properly supported dark surface to reduce reflected fill. Add a reflector only when the shadow needs more detail.
Why there is no universal camera setting
Aperture depends on the depth of field you need. Exposure also depends on light output, modifier efficiency, distances and ambient illumination. With flash, follow your camera and trigger's sync requirements. With continuous light, choose a shutter speed suited to movement, then balance aperture, ISO and lamp output.
Make a test frame, inspect the histogram and highlights, and adjust. Do not copy a power percentage from another light and expect the same exposure. Even the same lamp at a different distance changes the result.
Quick questions
Can I do this with continuous light?
Yes, the placement exercises transfer, but exposure and the ability to freeze movement differ. Read continuous light versus flash before choosing equipment.
Do I need three lights?
No. These exercises use one key light, with optional reflected fill. Learn to recognise what that light does before adding another source.
Go further with a reference you can bring to a shoot
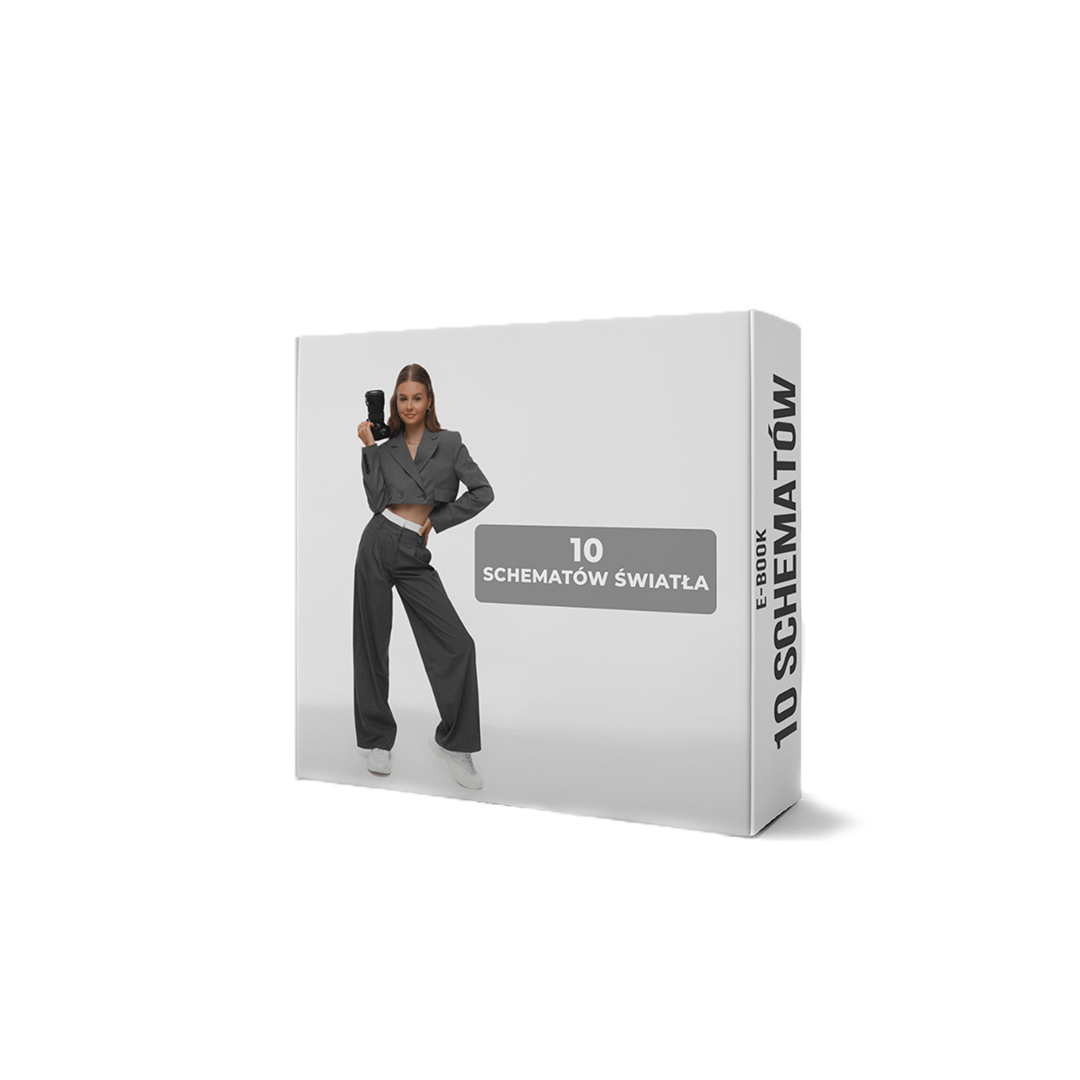
KARIROOM's 10 Lighting Setups ebook provides a larger collection of arrangements, example photographs and exposure references. The current PDF is in Polish. This free English lesson is not a translated extract or a guarantee of which exact exercises appear in the ebook.