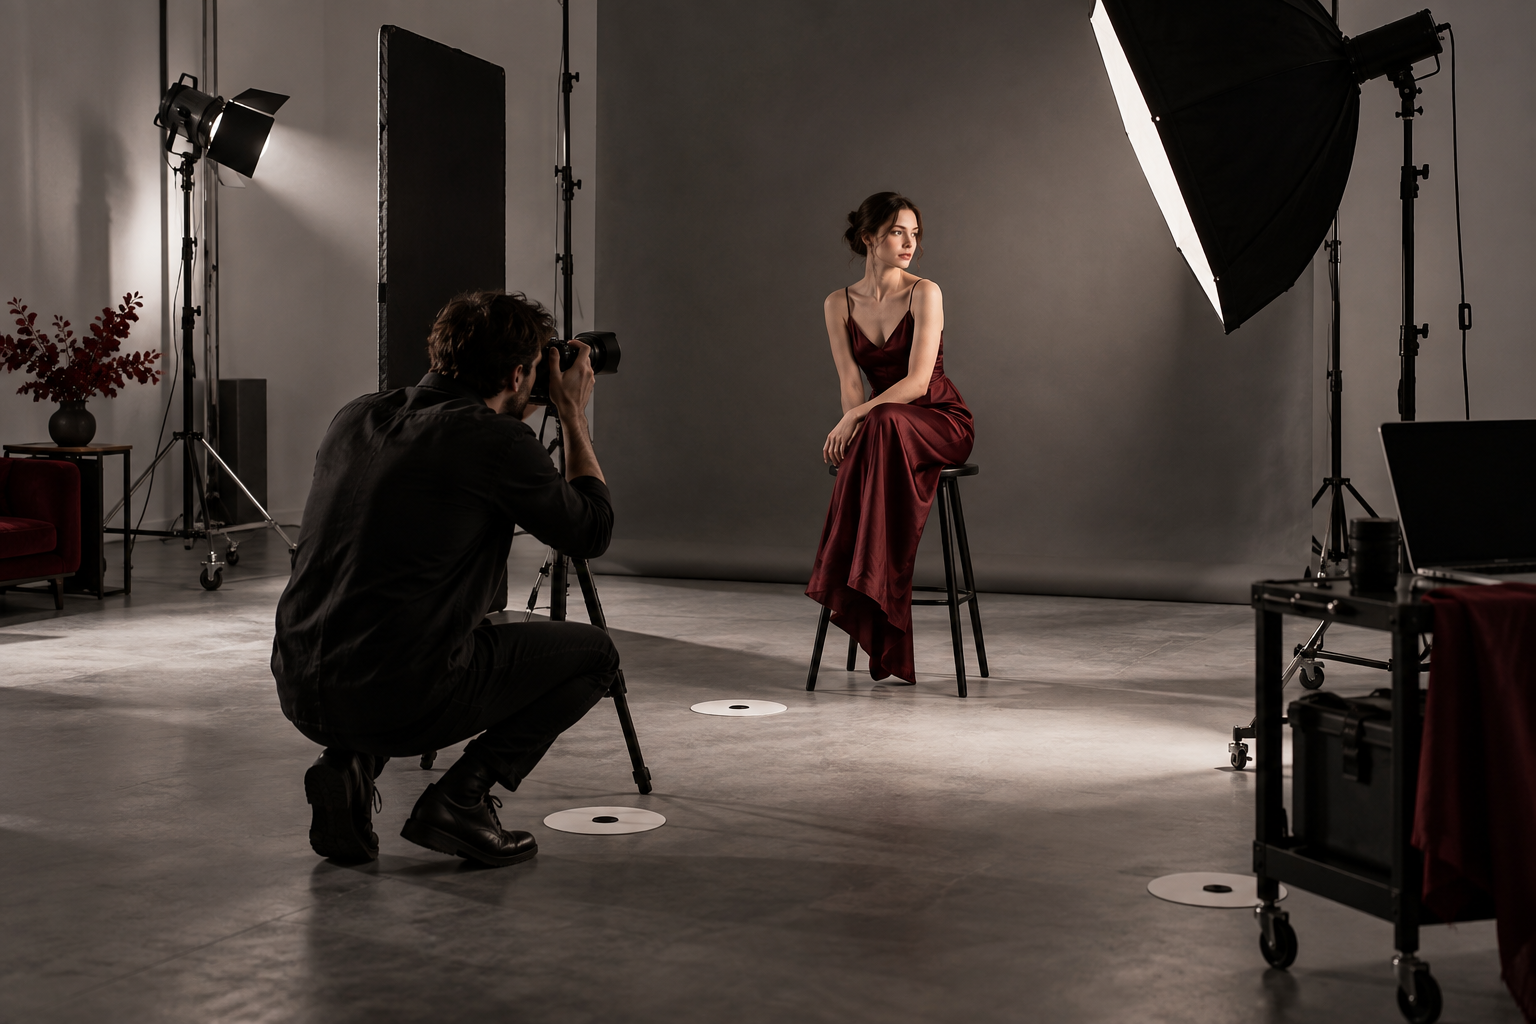
Use a lighting diagram as a starting point, not a set of settings that must produce the same photograph in every studio. Recreate the direction and purpose of the lights, take a test frame, then adjust the setup for your space, subject and equipment. That is how a reference becomes a practical learning tool.
KARIROOM's 10 Studio Lighting Setups by Karina Petkevich presents example arrangements for studio photographers. This English article adapts the original Polish introduction. The product currently sold is a Polish-language PDF, even when ordered through its English product page.
What the guide contains
The guide presents ten lighting arrangements with diagrams, example photographs and recorded camera and lighting settings. Its examples use tools such as octaboxes, stripboxes, spot sources, background lighting, filters and flags. It also includes arrangements combining continuous light and flash.
The point of these examples is to connect an arrangement with its visible effect. A diagram tells you where to begin; a reference photograph helps you judge shadow direction, contrast and separation. Recorded settings describe the example, not a universal exposure recommendation for your camera and lamps.
See the 10 Studio Lighting Setups product page for the current offer and delivery information. Check the Polish-edition notice before purchasing.
Who can use a setup guide?
A setup guide can help photographers who have access to studio lighting but still work mainly by trial and error. It provides a deliberate exercise: choose an effect, assemble the relevant equipment, compare a test frame and adjust with a reason.
Portrait, beauty and fashion photographers can use the examples as references for planning. Independent learners can repeat an exercise and keep notes between sessions. More experienced photographers can treat the arrangements as prompts for variations rather than as a fixed style to copy.
The equipment needed depends on the selected arrangement. Do not assume that every example can be reproduced with a single lamp or that a substitute modifier will behave identically. Begin with an exercise that suits what you have and identify what changes when you make substitutions.
A repeatable way to practise
1. Define what you are trying to learn
Choose one visible feature, such as a controlled edge of light, a softer facial shadow or a darker background. This gives you something specific to evaluate instead of deciding only whether the entire photograph looks good.
2. Build the setup in stages
Position the subject and main source first. Check the direction and shape of the shadows before adding fill, background or accent lighting. If every source is on from the start, it can be difficult to identify which one causes an unwanted reflection or spill.
3. Adjust exposure for your equipment
Use the settings in the example as context. Lamp output scales, distances, modifiers and camera response differ. Set exposure from a test frame or an appropriate meter reading, and inspect important highlight detail. With flash, use a shutter configuration supported by your camera and lighting system.
4. Change only one variable
Move a source, adjust its distance, add a flag or change its output, then make another frame. Changing several things together makes it harder to understand why the result improved or became less useful.
5. Record a version you can repeat
Photograph the arrangement and note the positions, modifiers and settings you used. Include the result alongside those notes. Your own record is often more valuable than a copied list of settings because it describes the room and equipment you will use again.
Use the examples without becoming dependent on them
A familiar arrangement can be a useful starting point during a client session, but practise it before the assignment. You should know what happens if the subject turns, the framing widens or the background changes. Leave time for safe setup and testing instead of trying an unfamiliar multi-light arrangement under pressure.
Once you understand an example, vary it deliberately. Try a different background distance or compare two modifier positions. The objective is to learn how to create an effect and solve a problem, not only to reproduce a diagram.
If the terminology is still unfamiliar, explore the Studio Lighting Encyclopedia, a separate Polish-language PDF about sources, modifiers and lighting principles. For an English-language starting exercise, read three studio lighting setups for beginners.
Frequently asked questions
Are the example settings guaranteed to work unchanged?
No. They document a particular arrangement. Your source, modifier, distance, ambient light and camera may require different settings.
Can I use continuous light instead of flash?
You can often explore similar directions and shadow shapes, but output, exposure and movement behave differently. Read our continuous light versus flash guide and test the complete arrangement rather than assuming a direct substitution.
Can the guide help with creative blocks?
It can provide a structured starting exercise. Try one arrangement, then change a single feature to develop a variation. It is a reference for practice, not a guarantee of a particular result.
Is the PDF available in English?
The currently offered edition is in Polish. This article and the product information page are in English; they do not change the language of the downloadable book.